


Recently I acquired a nesting bug- commonplace around our house once the weather turns frosty. As a result, I decided that the extra bedroom needed a revamp.
This room currently serves as our office/game room/vanity area/work uniform closet space so it serves a lot of functions. The room has one small window and the builder grade (heinous) light fixture. Neither of which allows much light into the room. Combine that with the black furniture and grey walls and the room quickly turns into a cave (which is just perfect since Brad likes to call it his mancave). All in all the room kind of depresses me, which is unfortunate considering we spend a lot of time in there. Recently I got a wild hair and decided it just wouldn't do any longer. Revamp required! The project took me about two weeks between the requirement for painting, work scheduling, and being out of town. I thought I'd break the reno up into several posts to cut down on the lengthiness.
The first task I decided to tackle was making over my vanity. I spend a lot of time here each day getting ready or just playing around. Due to the overly masculine field I work in, I've found an affinity for makeup-ing as a way to remind myself that yes, in fact, I AM a woman. Our master bath is really quite tiny and there isn't much room in our bedroom for an area for me either. (I previously had my vanity on a wall mounted IKEA desk inside our tiny walk in closet!)

As I mentioned, there is very little light in the room so I wanted to do what I could to lighten the place up. I actually like the grey wall color and didn't want to change it. I decided the best way to make the room less cave-like was to change the color of the furniture. I started by painting the desk that I use as my vanity.
This desk was an inexpensive Target find that I assembled myself not long after purchasing my house. The problem with painting this desk (as well as all the furniture in this room) is that it is laminate. But fear not! Pinterest has an answer for that!

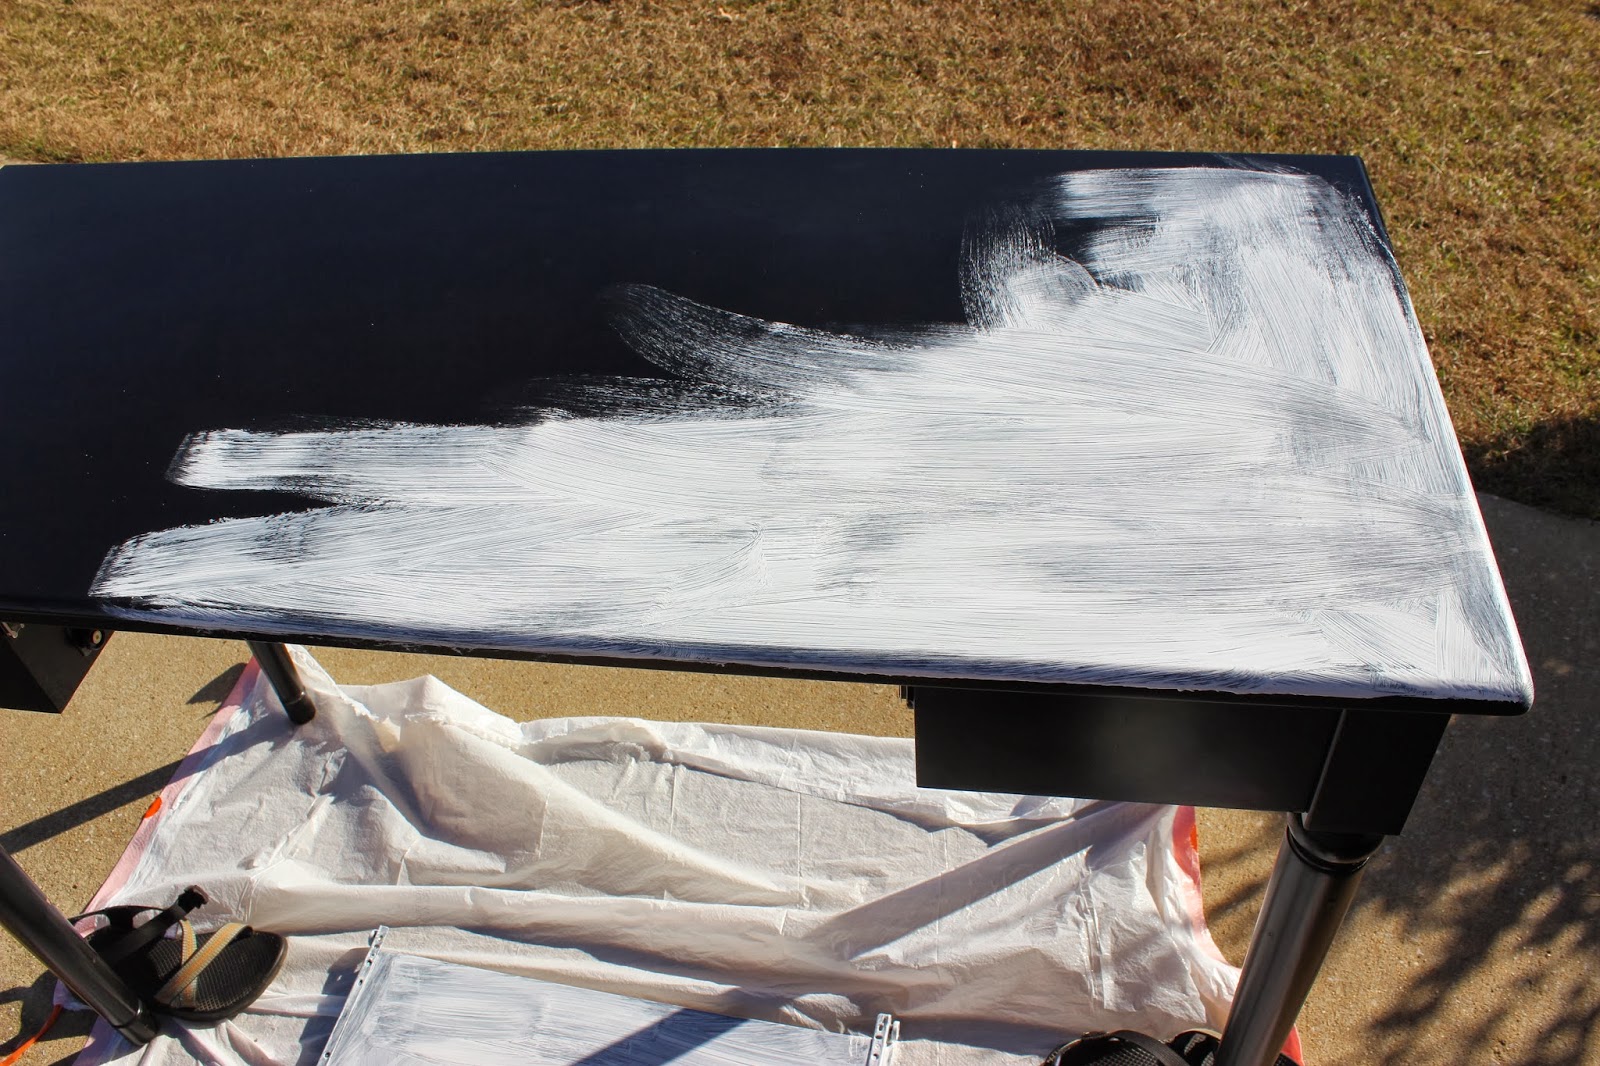
I found several tutorials for this but the common idea seemed to be that first you needed to prime the furniture (duh). Some sites suggested a water based primer, some a silicone based one. I ended up just using Zinsser 123 Primer for All Surfaces and it seemed to work fine enough.

This did take two coats to get a good enough base for the paint. There's no need for it to be perfect. You're just laying down something for the paint to cling to.


Fischer worked hard also...

After priming, I slapped a couple of coats of flat white latex paint down and viola! a new vanity was made.


I'm hoping to find some sort of storage to declutter the vanity top but for now this will do. The single small drawer on this desk doesn't allow for a lot of storage space. I'm currently on the hunt for a large mirror I can put against the wall to use rather than the small one I've been using. I also added a lamp I found at T.J. Maxx. I like the mercury glass look of the base but quite honestly it really doesn't put off a lot of light for when I'm doing my makeup. I guess it'll do though.

Stay tuned for the next segment- book case re-do...


No comments:
Post a Comment